Developed by Wondershare, UBackit provides a fast, smooth, and secure solution to backup and restore your data. Using it, you can back up your files, partitions, or the entire drive. Users can select any location to back up their data and set up automatic schedules such as daily, weekly, monthly, or ongoing. It also provides a seamless solution to restore a saved backup to our PC.
Wondershare UBackit supports all the leading Windows versions such as Windows 7, 8, 8.1, 10 and 11.
1. Install & Launch UBackit
- Install Wondershare UBackit
- Launch Wondershare UBackit
Step 1 Install Wondershare UBackit
Just go to the official website of Wondershare UBackit to download the installer on your PC. Double-click the EXE file to open the UBackit installer and click on the “Install” button to start the process. Just wait for a while as UBackit would be installed on your computer.
Step 2 Launch Wondershare UBackit
After completing the installation, you can launch UBackit from the desktop or look for it from the search option on the taskbar.
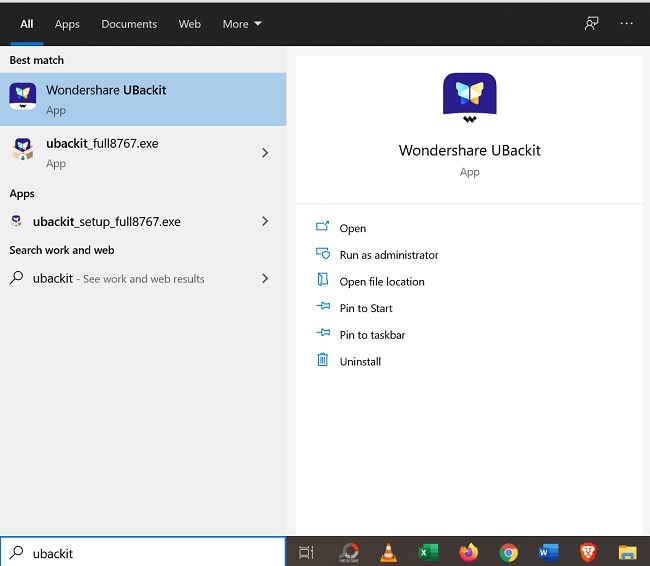
Once UBackit is launched, you can log in to your Wondershare account (or create a new one). Now, you can explore the features of UBackit to back up and restore your data.
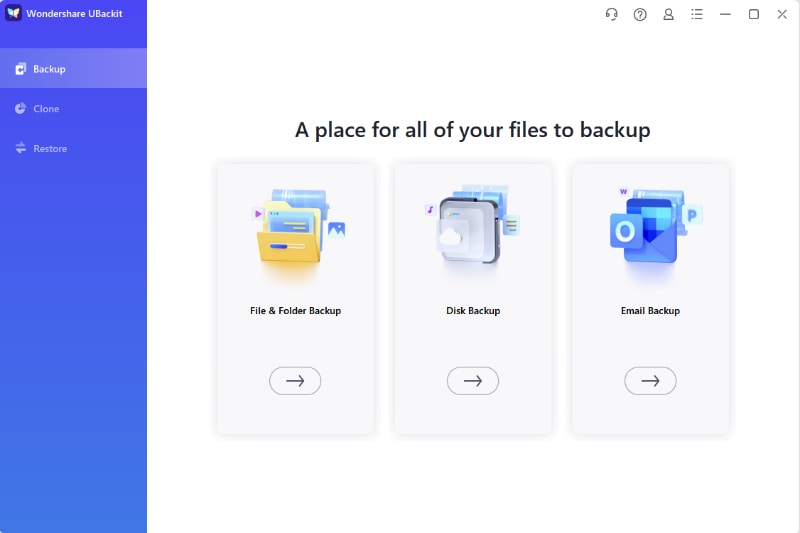
2. Backup Files/Folders
Wondershare UBackit provides a hassle-free solution to back up selective files and folders of a PC and any other storage device, such as an external hard drive, SSD, USB flash drive, memory card, etc. Users need to follow three simple steps to back up their files.
- Select Files/Folders
- Choose Backup Destination
- Start the Backup Process
The File Backup feature doesn’t support hidden and deleted files/folders backup. To back up all the files/folders existing in the disk, you can head to Disk Backup.
Step 1 Select Files/Folders to Backup
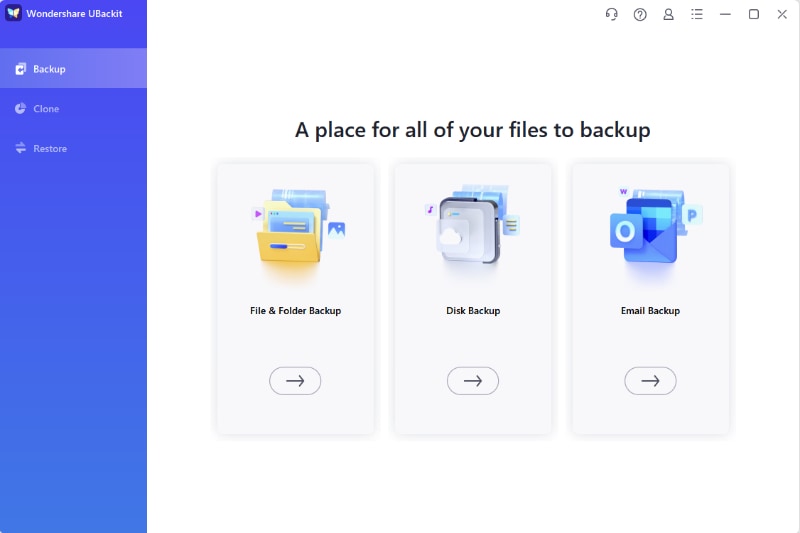
Launch Wondershare UBackit after the installation. Click on the “Create” button and select the “File Backup” feature.
Get a view of your system’s storage and select any partition from the sidebar. On the right panel, you can browse its storage by double-clicking and select folders or files to back up.
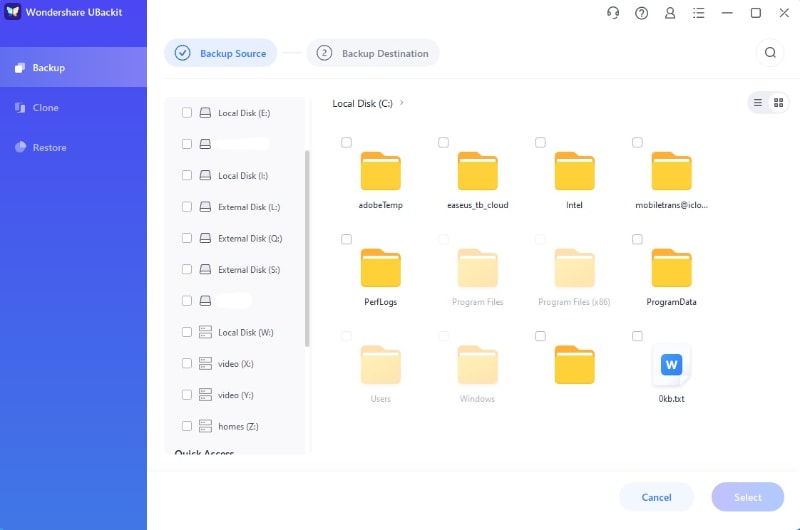
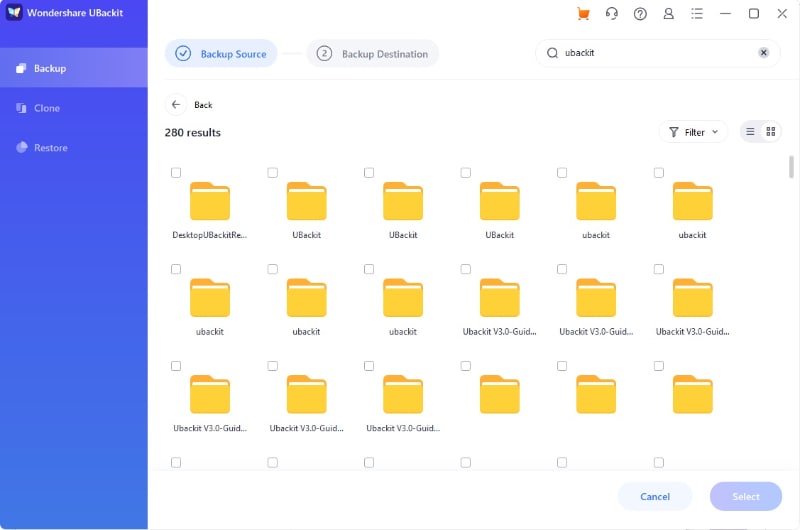
If you are looking for specific files, then go to the search option from the top and enter relevant keywords to get instant results.
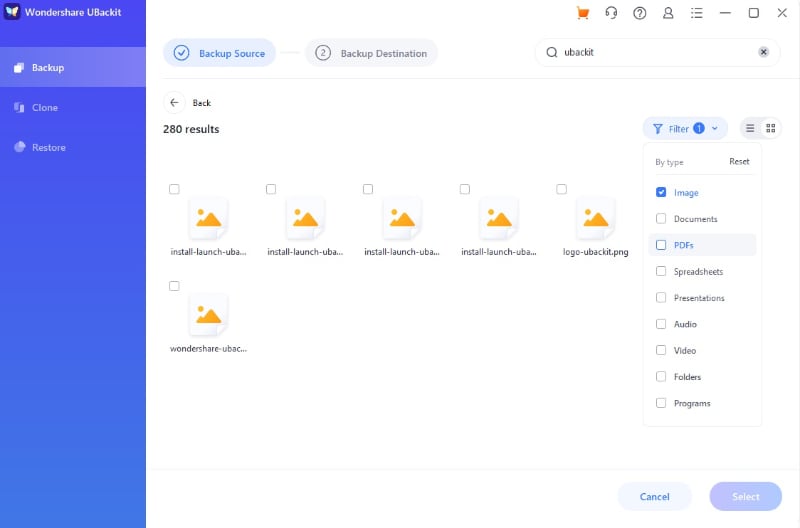
There is also an inbuilt filter in UBackit that you can use to filter results based on different types of data no matter it is images, audios, videos, documents, programs and etc.
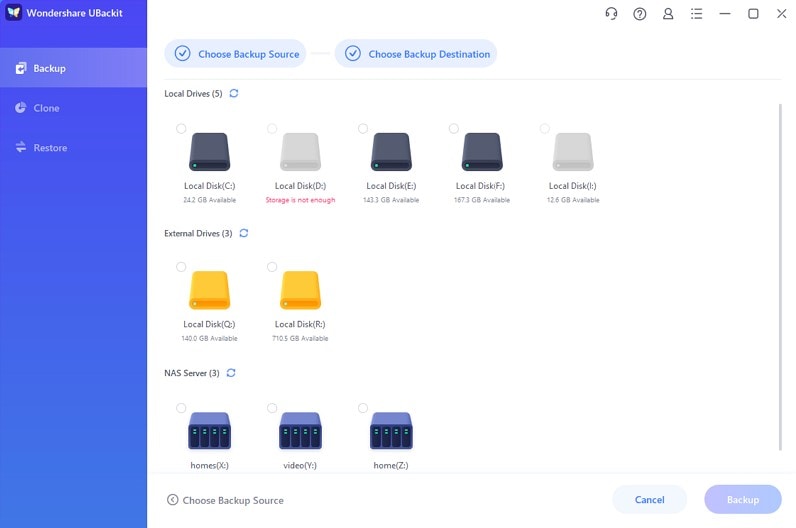
Step 2 Choose Backup Destination
After selecting files/folders from your PC, the application will ask you to select a target location to save the backup. You can select any internal drive or an attached external source where the backup would be saved.
Step 3 Start Backup Process
Click on the “Backup” button and simply wait for a while as UBackit would start taking a backup of your data on the selected location. The application will display the progress of the backup process on the screen.
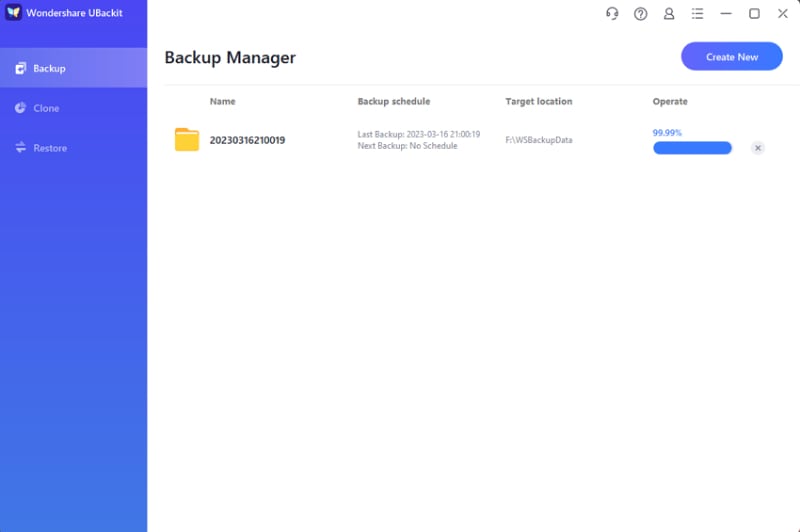
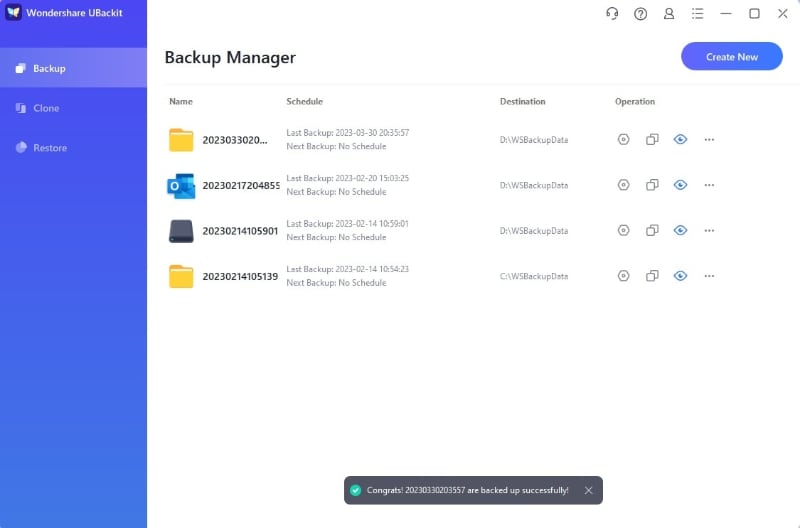
Once the backup process is completed, you will be notified by the application and can later view or restore your data via UBackit. You can click the "Create New" button in the upper right corner to start a new backup.
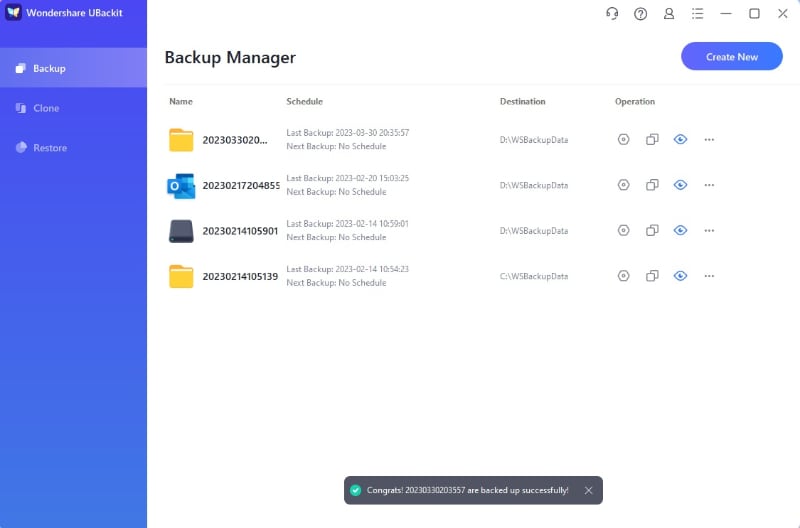
In addition, you will see three options on the backup item:
• Schedule
Set a daily/weekly/monthly/non-stop automatic backup. You can go to “Set Automatic Backup” from the left sidebar for more details.
• Backup
Clicking this option will update the backed-up folder/file/disk to the latest state.
• View
With “View” option, you can open the backed-up folder or disk to check the files/folders stored in it. Then you can preview and restore selected files/folders.
3. Backup Partition
With Wondershare UBackit, you can also back up the entire partition from your PC to internal or external storage.
- Select a Partition to Back up
- Select Backup Destination
- Complete the Backup Process
Step 1 Select a Partition to Back up
Launch Wondershare UBackit. Click on the “Create New” button and choose “File Backup”. Then, from the sidebar, select any partition of your choice to back up.
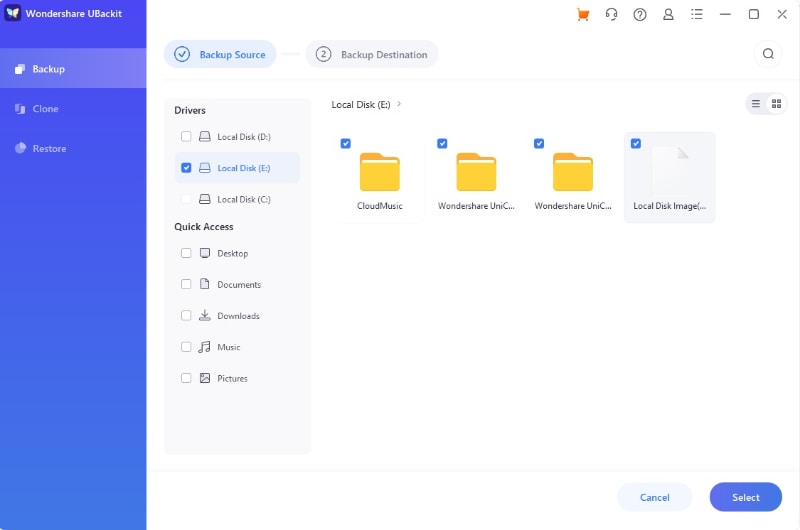
Step 2 Select Backup Destination
After selecting a partition, you can choose a target location where the backup would be saved. This can be an internal drive or any other external source (like a connected hard drive) of your choice.

Step 3 Complete the Backup Process
Click on the “Backup” button and simply wait for a while as UBackit would maintain a backup of the entire partition on the designated drive. Since it might take a few minutes, you are recommended to wait for a while and not close the application in between.
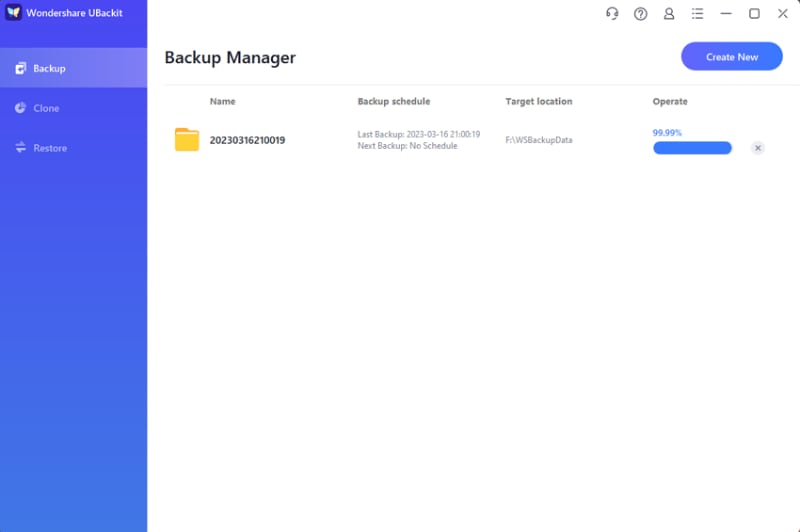
After completing the backup process, UBackit will notify you, letting you manage your data easily.
4. Disk Backup
Wondershare UBackit comes with an advanced Disk Backup feature that can maintain a second copy of the entire disk. The feature would let you back up all the stored files/folders on your disk in one go. Once you are faced with a symptomatic corrupted hard drive, or you are going to change a new PC, you can take advantage of Wondershare UBackit disk clone feature to settle your difficulty.
And to protect your data from any accidental hard drive or PC corruption, Disk Backup also provides a Schedule option. You can set a weekly/monthly automatic backup to give your disk overall protection.
For the external disk, UBackit will start automatic backup next time you connect it to your computer.
- Select a Disk to Create a Disk Backup
- Select Backup Destination
- Complete the Disk Backup Process
Step 1 Select a Disk to Create An Image Backup
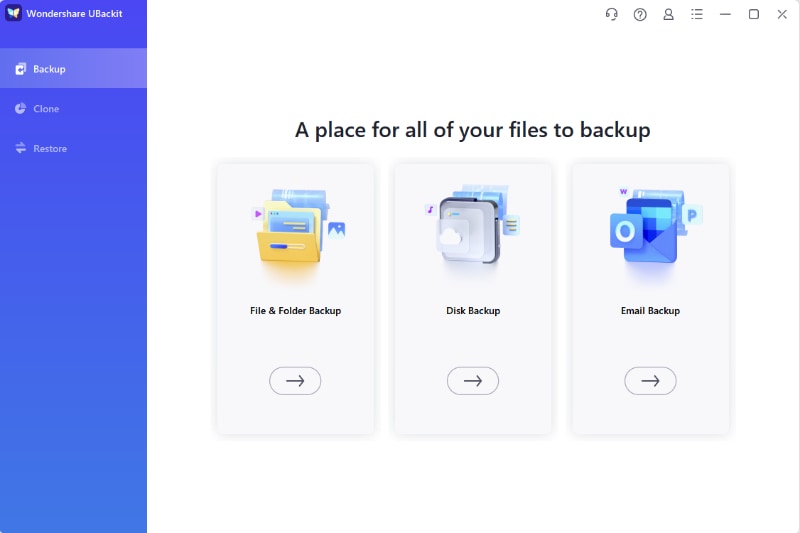
Launch Wondershare UBackit and visit the “Backup & Restore” feature from the side. Now, click on the “Create New” button and select the “Disk Backup” option.
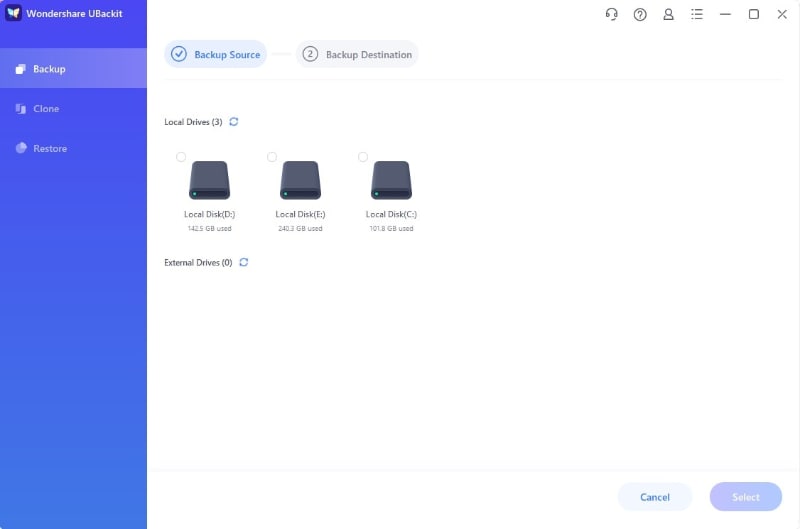
From the list of the available drives, just choose the drive to back up (like C/D/E/F) and click on the “Select” button.
Step 2 Select Backup Destination
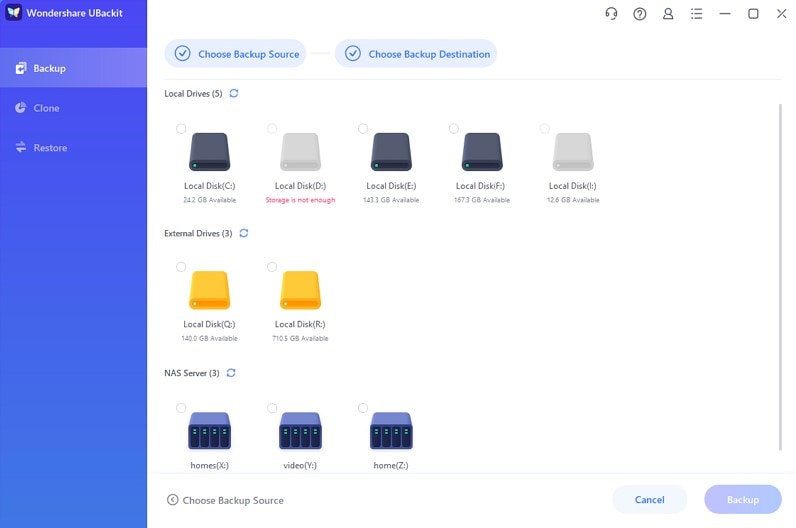
Now, you can select a preferred location (like another drive or an external source) where the disk backup would be saved. The application will list the available drives or any external storage here. Pls kindly ensure that there is enough storage space of the new drive.
Step 3 Complete the Backup Process
After clicking on the “Backup” button, you can just sit back, and wait for a while. The application will display the progress of the disk backup process on the screen.
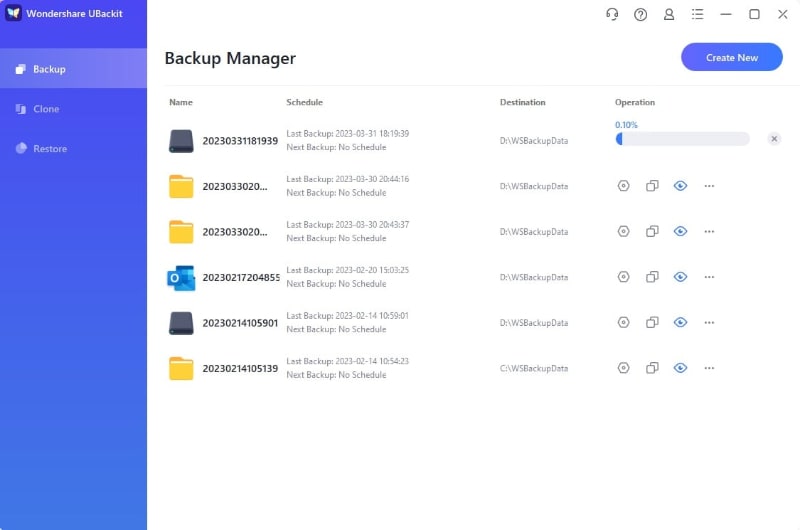
In the end, UBackit will inform you once the Disk Backup process is completed. You can now view, restore, and manage your backup from your UBackit dashboard.
If it's an external disk
5. Outlook Backup
With over 500 million users worldwide, Outlook is an incredible tool that helps you send and receive emails, manage contacts, stores, and calendars, and track tasks. Make sure you back up your important data to keep it secure. This is where Wondershare UBackit lends you a helping hand. It provides you with an advanced Outlook backup feature to create a copy of your entire data, and all the backed up email files can be opened with Outlook easily.
Follow the steps below to proceed.
- Choose a Disk to Create an Outlook Backup
- Select Outlook Files to Create Their Backup
- View Backed-Up Items
Step 1 Choose a Disk to Create an Outlook Backup
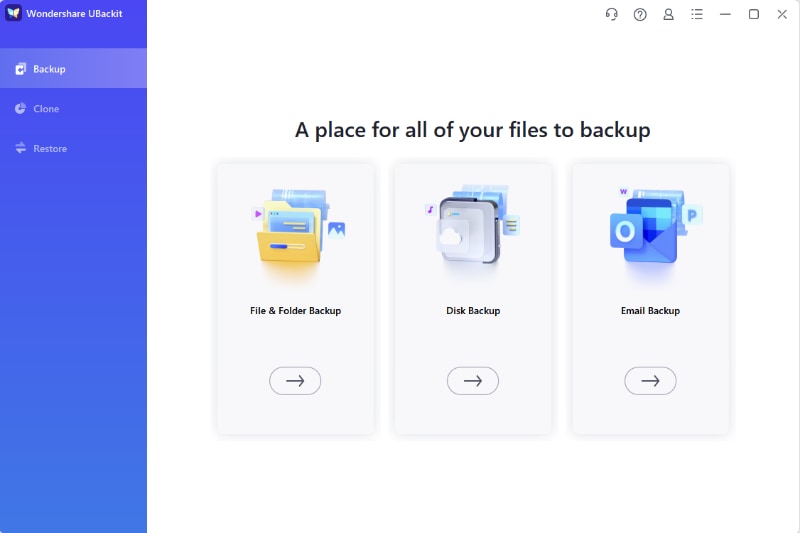
Open Wondershare UBackit. Go to the left menu, tap on "Backup & Restore", and hit the "Create New" button. Then, select the Outlook Backup feature to create a backup of your Outlook files.
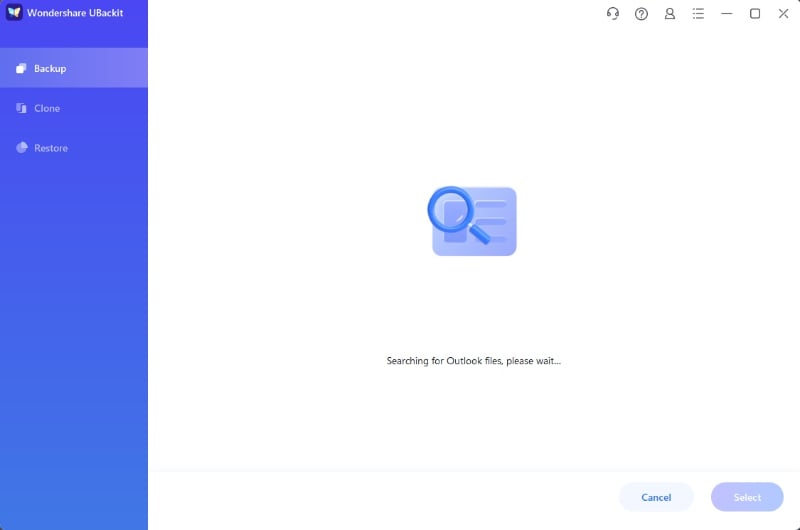
UBackit will start searching for the Outlook data automatically. Wait for some time until you see the files on your screen.
Step 2 Select Outlook Files to Create Their Backup
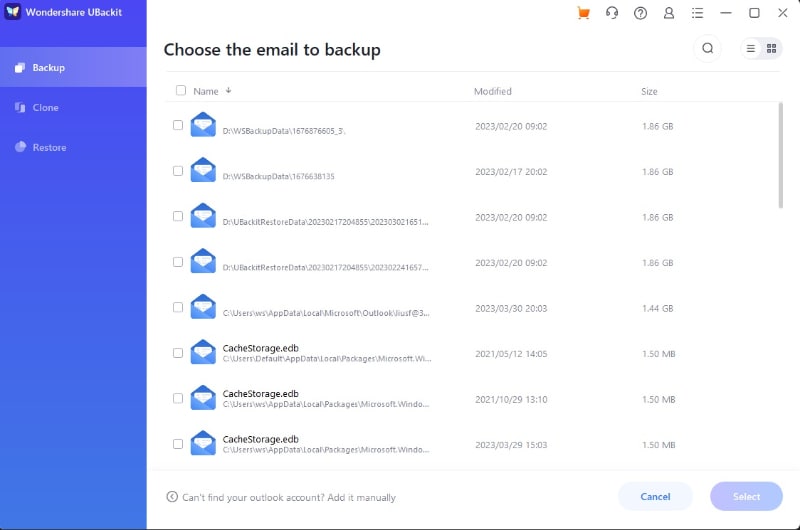
It is time to choose the files you want to back up. All you need is to check the boxes displayed before the file names, as shown below. Once done, click the “Select” button at the bottom right of the app.
Step 3 Select Backup Destination
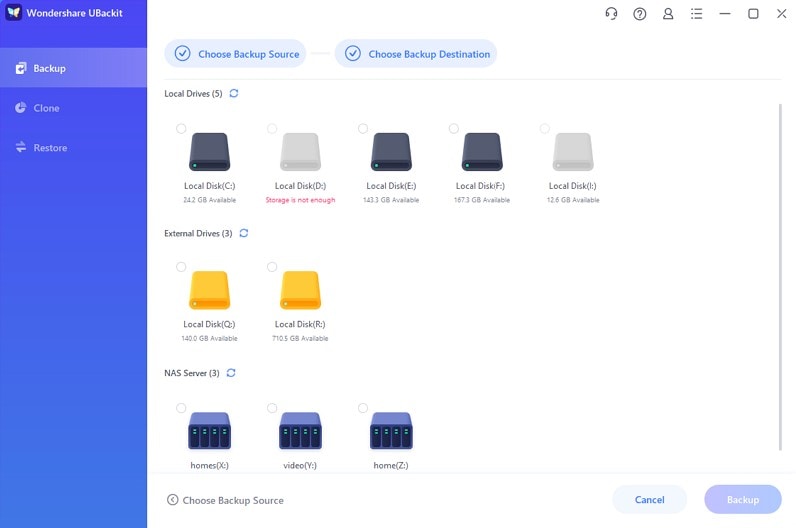
After that, you need to select one place to save the Outlook files backup. It can be the local disk or an external source. You can find all the available drives on this page. Select the drive where you want to save the files, and continue to the next step.
Step 4 Complete Outlook Backup
Once the backup process completes, you have the option to assign a specific name to the folder where your backup is being stored. And you can click Create New at the top right corner if you want to start another Outlook backup.
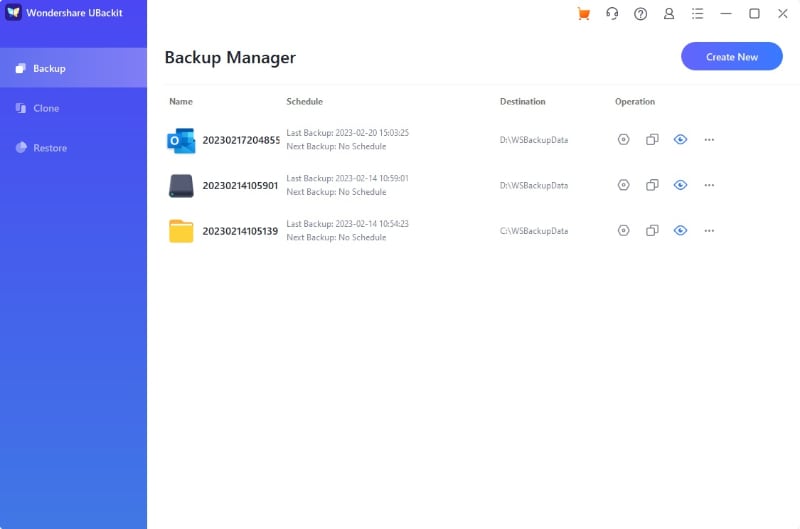
Following these three steps successfully will create your Outlook backup instantly.
6. Restore Backup Files
You can also check the existing backup of your data saved on UBackit. The application provides a hassle-free option to restore the entire backup or select specific files to be restored.
- Select Backup/Files to Restore
- Select a Target Location
- Start the Restoring Process
- Backup Restored Successfully
Step 1 Select Backup/Files to Restore
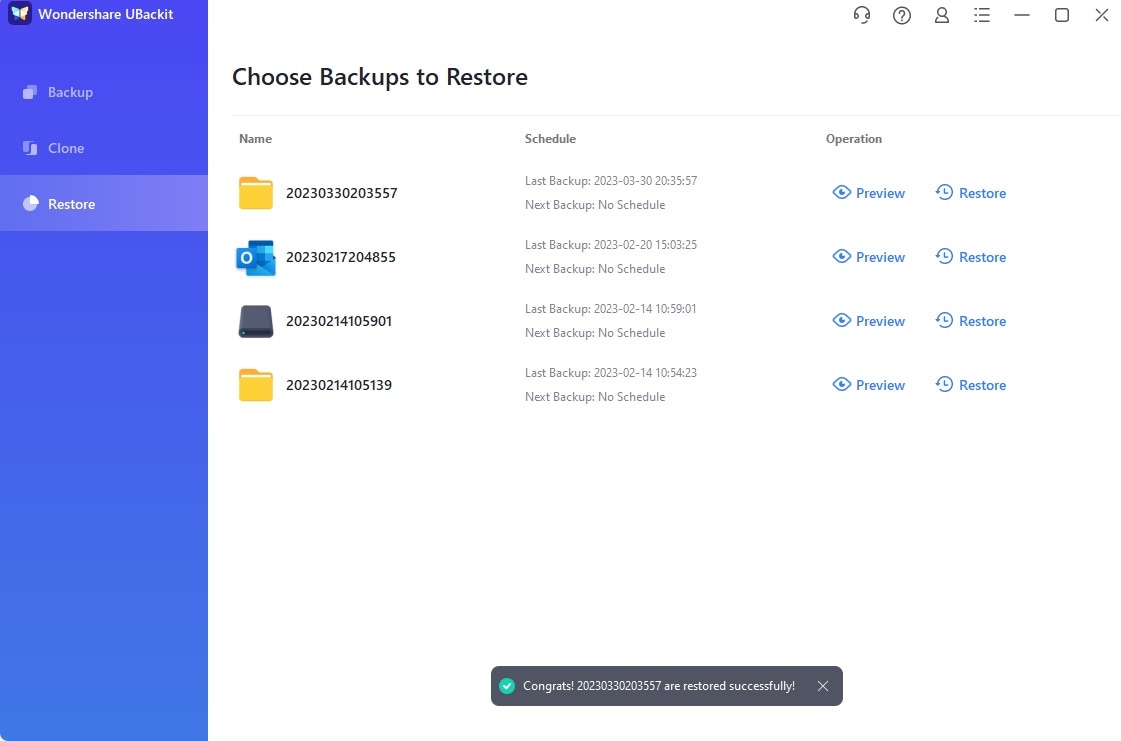
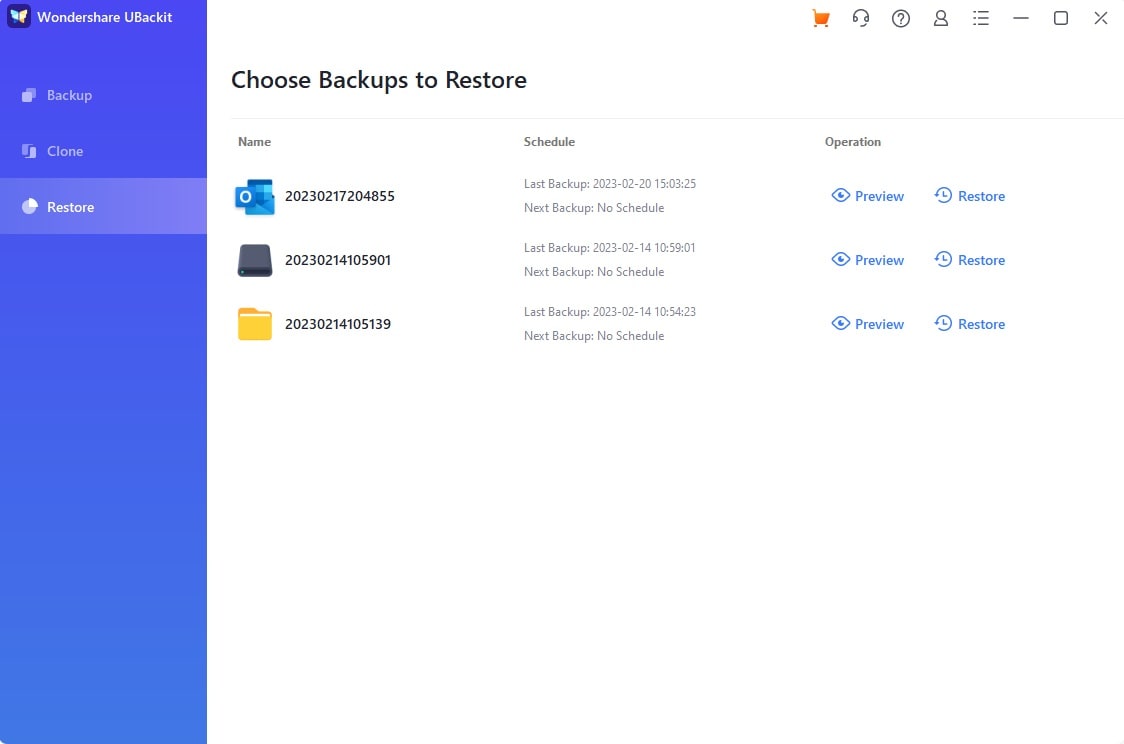
Launch Wondershare UBackit and all your backups are listed in the Backup Manager section.
Option 1: Restore the Entire Backup
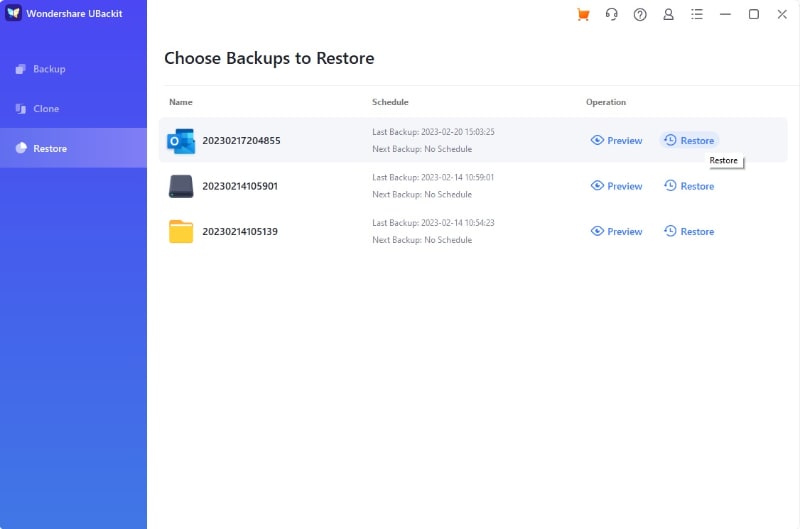
If you want to restore all the files in the backup, click the three-dot icon  on the backup item that you want to restore and choose the “Restore” option.
Option 2: Restore Specific Files/Folders
If you just want to restore a specific file or folder in the backup of your choice, you can click on the “View” button to check the stored files/folders. As you would select any file, you can check its version history on the right. If the backup schedule is set to real-time or daily/weekly/monthly, the application will automatically maintain different versions of your data.
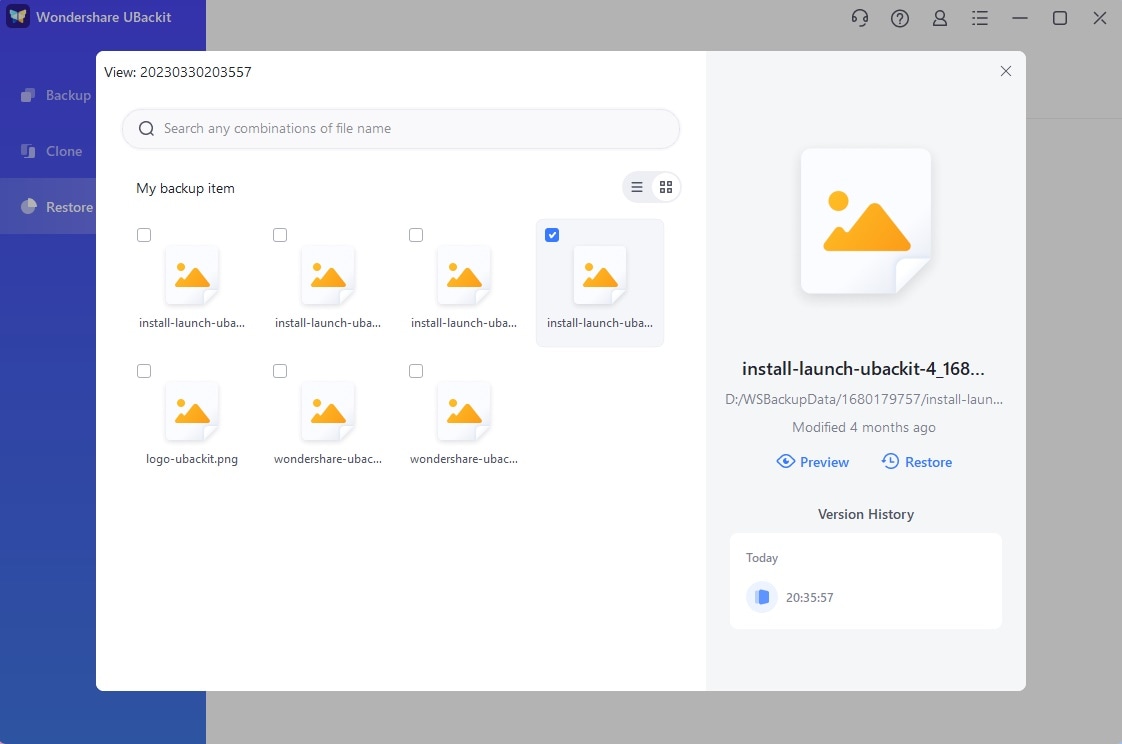
The application will display dedicated versions for all kinds of data with their respective timestamps.
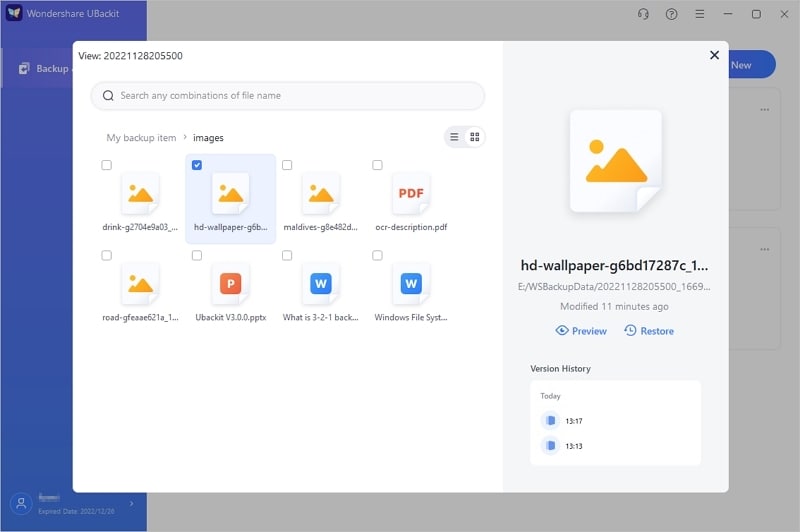
You can also click on the “Preview” button to first view the file on the native interface of UBackit. This will let you select the files/folders you want to restore from the saved backup.
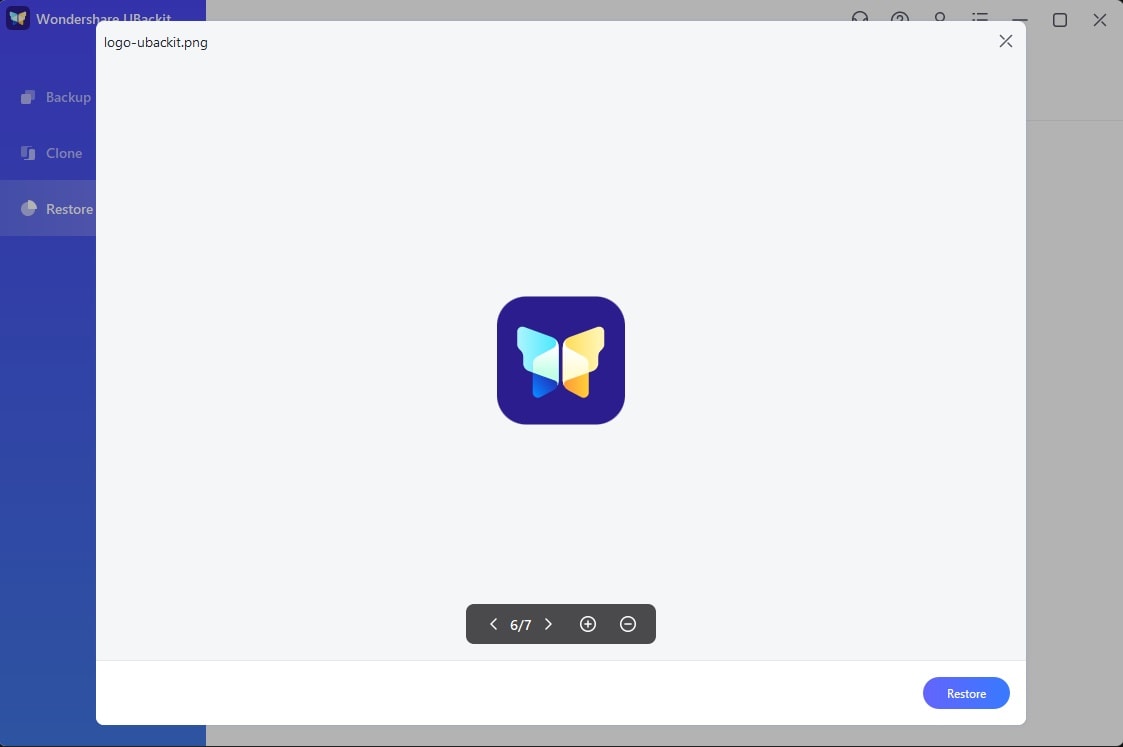
Click on the “Restore” button after choosing an entire backup or selective files/folders of your choice.
Step 2 Select a Target Location
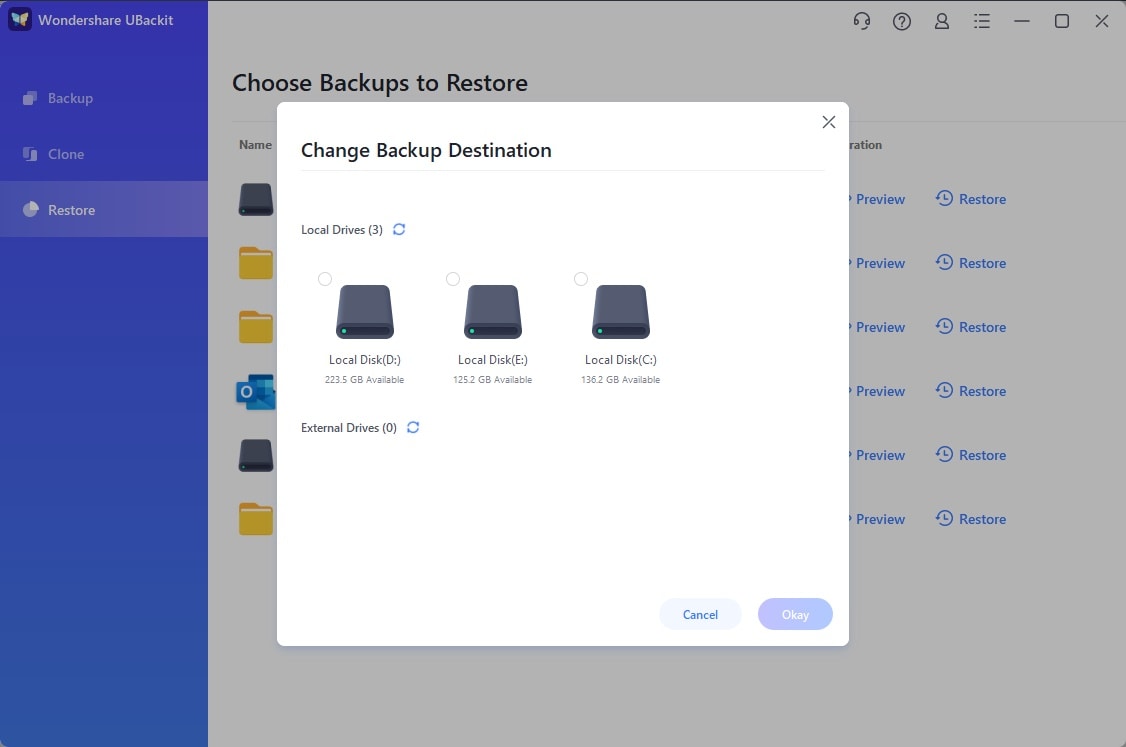
Afterward, the application will let you select the target location where the backup would be restored.
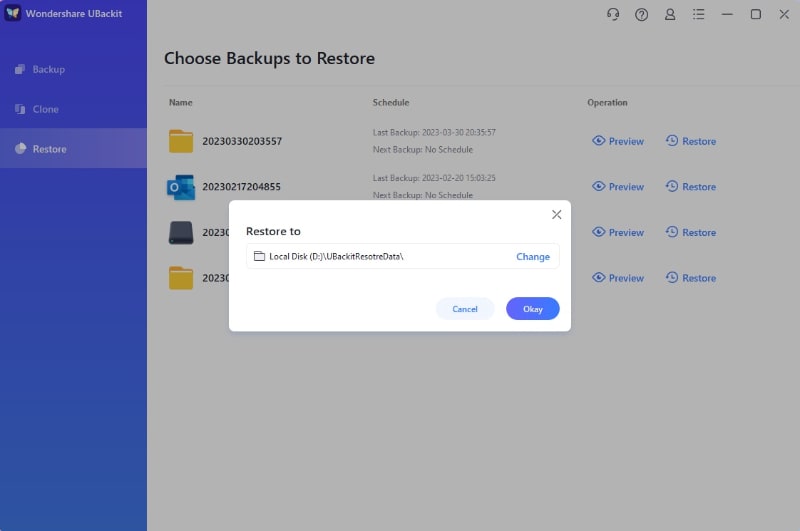
You can click on the “Change” button to manually browse to any specific location where you want to extract your data.
Step 3 Start the Restoring Process
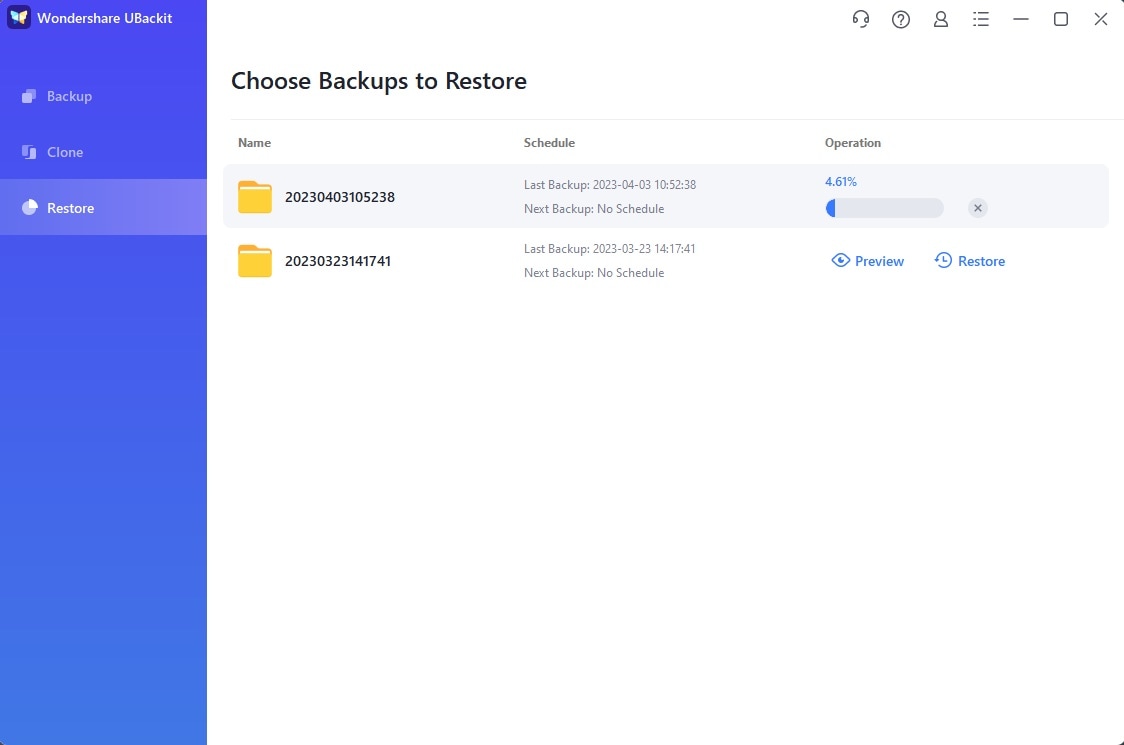
After selecting the target location, the application would start extracting your data. You can check the progress of the restoring operation here and simply wait for the process to be completed.
Step 4 Backup Restored Successfully
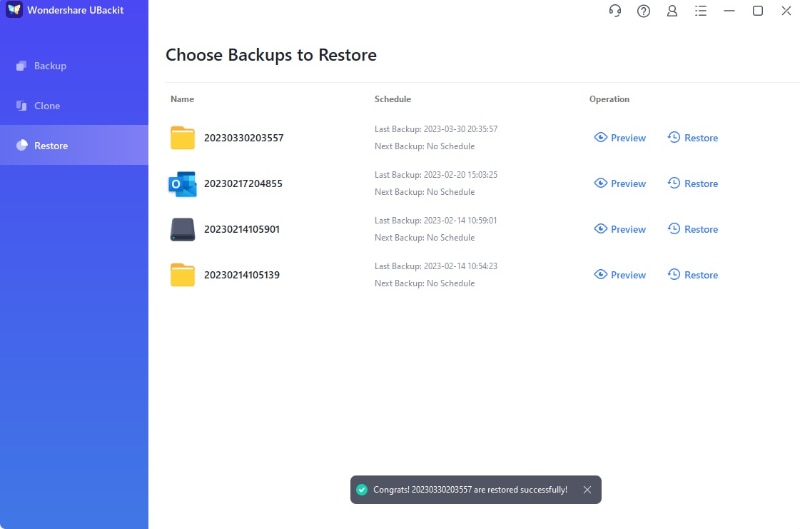
Once the restoring process is completed, UBackit will let know by displaying a relevant prompt on the screen.
Furthermore, the application would also open a new pop-up window where the backup has been restored. You can directly go to the location on Windows Explorer to check the restored content on your PC.
7. Set Automatic Backup
To prevent an unexpected loss of your data, UBackit offers an automatic backup option that you can enable or customize whenever you want. The feature can be used to take a daily, weekly, monthly, or ongoing backup of your data.
- Locate the Automatic Backup Feature
- Set up an Automatic Backup Schedule
Step 1 Locate the Automatic Backup Feature
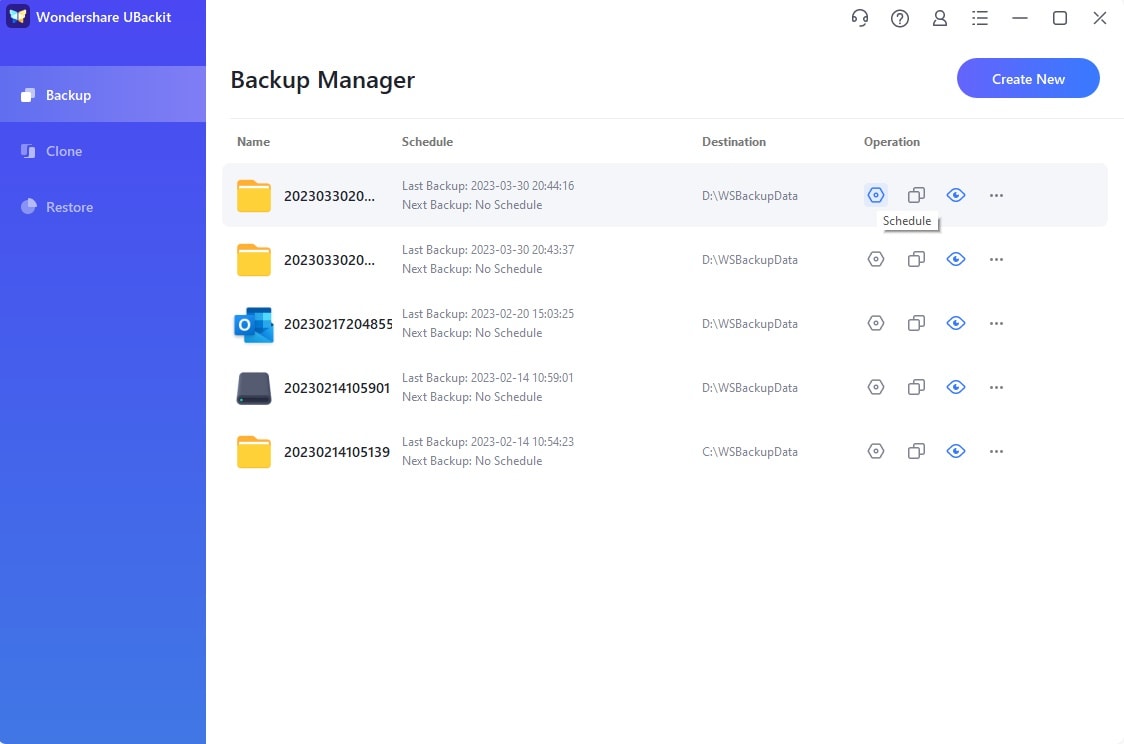
At first, you can launch Wondershare UBackit and go to its Backup Manager (from the Backup & Restore feature). Now, you can select any backup and click on the three-dot icon from the side to visit its Settings.
Launch Wondershare UBackit and click the "Schedule" option on the folder/disk you want to set up automatic backup.
Step 2 Set up an Automatic Backup Schedule
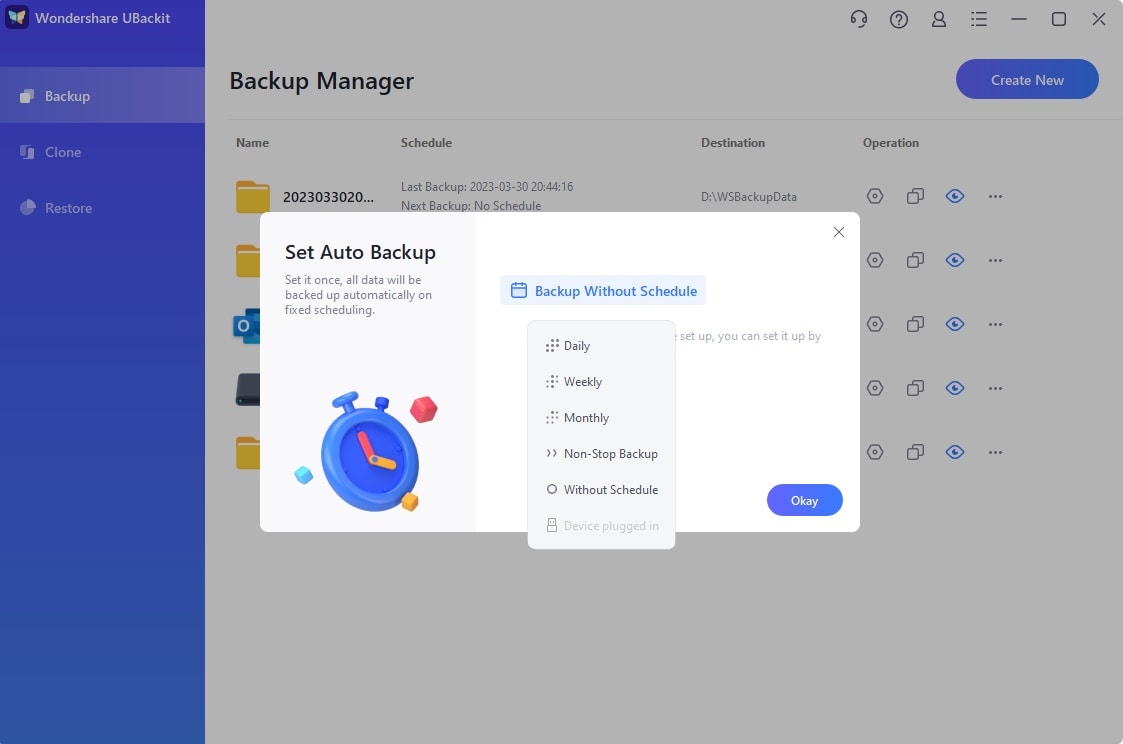
Once you click on the “Settings” button, a pop-up window about the Automatic Backup settings would be launched. Here, you can click on the designated schedule feature to set up an automatic backup frequency.
A pop-up window about the Automatic Backup settings would be launched. Here, you can click on the designated schedule feature to set up an automatic backup frequency.
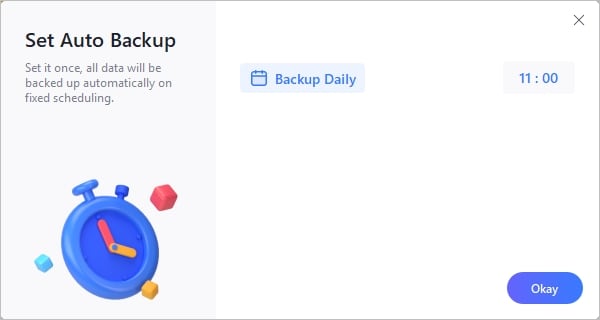
1 Backup Daily
By setting this schedule, UBackit would back up your data daily. You can change the preferred time for taking a backup from here.
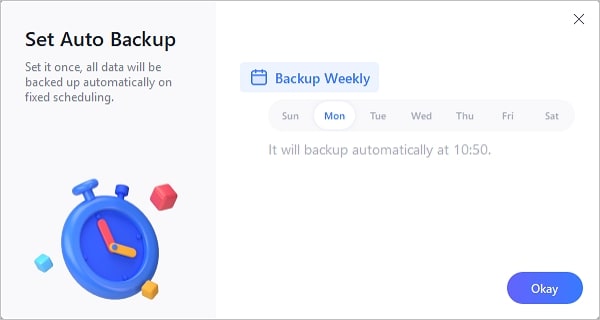
2 Backup Weekly
This option will set up a weekly schedule to back up your data. You can select any day of the week (like Monday or Sunday) to maintain an automatic backup.
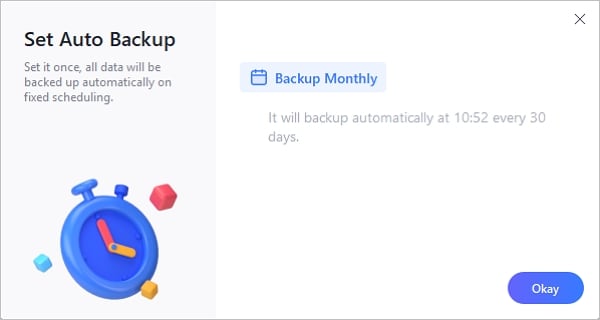
3 Backup Monthly
This will automatically set up a monthly frequency for the backup process (that will take place in an interval of 30 days).
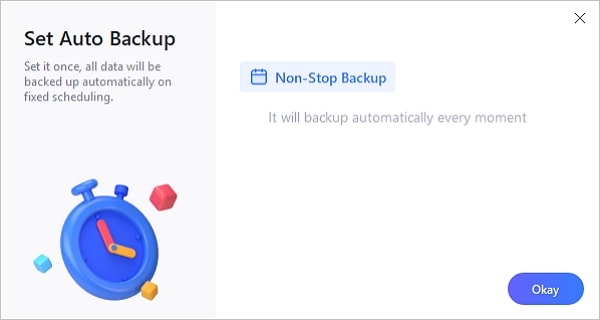
4 Real-Time Backup/Non-stop Backup
This would set an ongoing backup schedule that would keep taking an incremental backup of your data in the background.
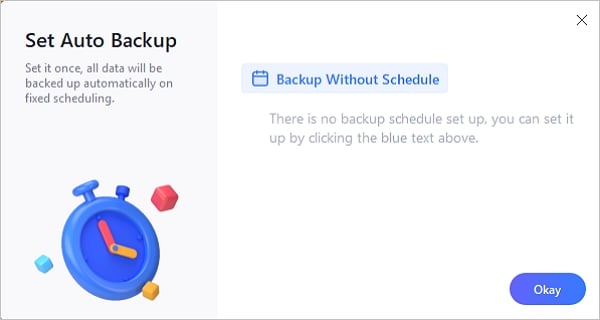
5 No Schedule
You can also choose to disable the automatic backup feature with this option. If it is enabled, you can have to manually back up your data.
Why Choose Wondershare
We Have
5,000,000+
Software Users.
From More Than
160+
Countries!

Software Experts
Since 2003

7- Day Money Back
Guarantee

100% Secure
Virus-Free Guarantee

24 x 7 Free Tech
Support